By Pocket Habitat · revised September 12, 2026
These are source-informed editorial layouts, not gardens we claim to have installed or field-tested. Coordinates describe this example; local conditions and nursery dimensions take priority.
Does your site fit?
An 8-foot-long, 4-foot-deep bed with at least six hours of direct sun, freely draining soil and access from both long sides. This is a deliberately sparse starter composition, not an instant carpet of flowers.
The planting recipe
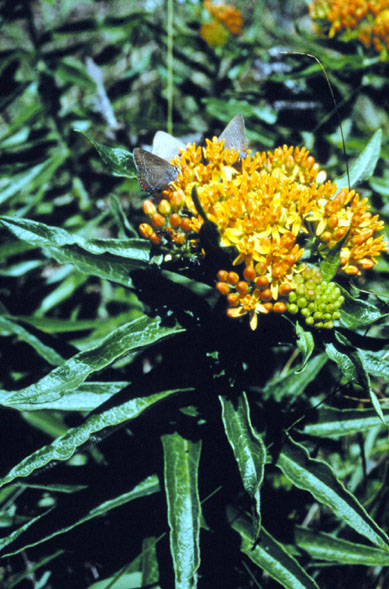
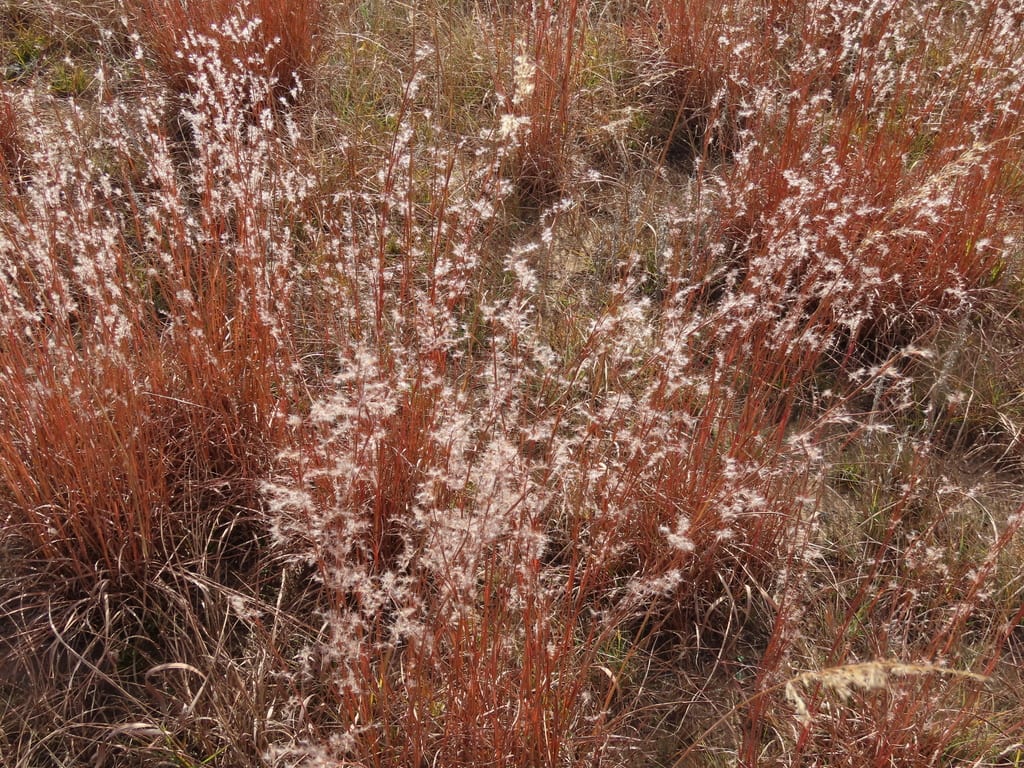
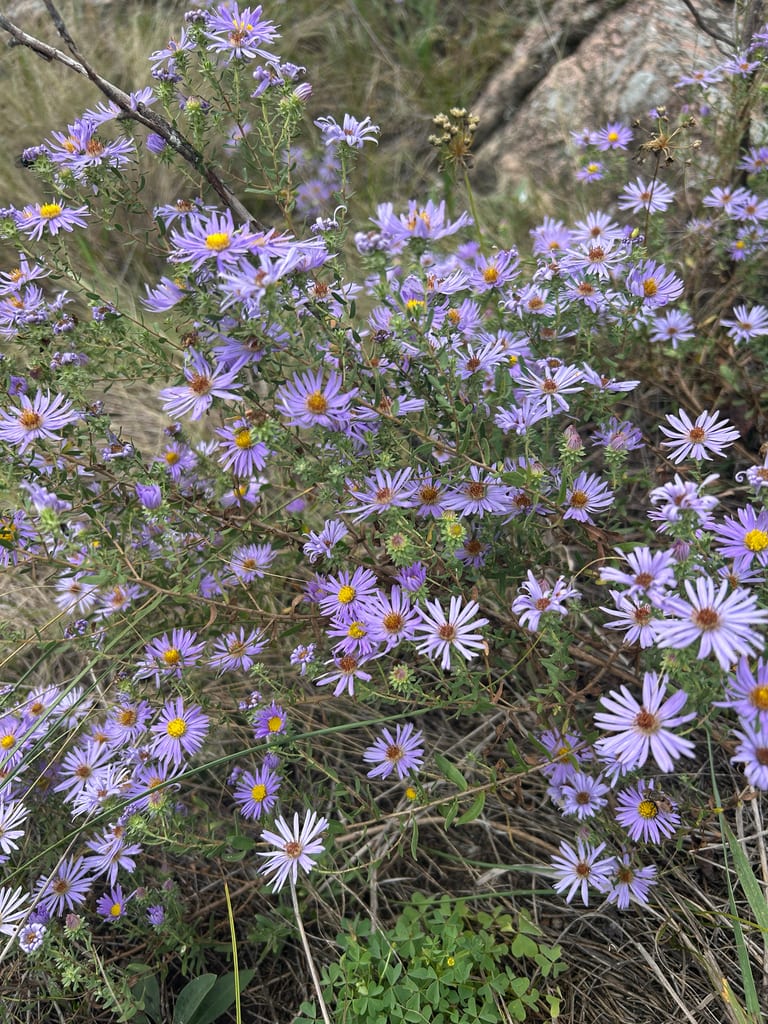
Reserve a 4-foot-wide envelope for the grass and a 3-foot-wide envelope for the aster. Two butterfly weeds occupy the open center seam, 2.2 feet apart. These envelopes may touch as plants mature; if a supplier lists a larger spread, remove a plant or enlarge the bed rather than squeezing the centers closer. The previous 14-plant recipe was too dense to recommend without a specified maintenance regime; this revision uses four plants.
| Plant | Qty. | Role |
|---|---|---|
| Little Bluestem | 1 | G · left structural anchor |
| Aromatic Aster | 1 | A · right fall-flowering mound |
| Butterfly Weed | 2 | B · summer flowers in the center seam |
How to lay it out
- Lay out the 8 × 4-foot rectangle with two tapes. Use the far-left corner (top left on the diagram) as (0, 0); the first coordinate runs right along the 8-foot side and the second runs toward the near edge. Put a temporary marker at each position shown below.
- Place the grass at (2, 2) and aster at (6, 2). Mark their expected mature outlines with a hose before adding the two butterfly weeds at (4, 0.9) and (4, 3.1). Step back and check that no outline obstructs the walking surface.
- Remove existing perennial weeds before planting. Make each hole only as deep as its root ball, keeping the crown at the surrounding soil level. Water each root ball and the adjacent soil; do not add routine fertilizer to force rapid closure.
- Label the butterfly weeds so their late spring emergence is not mistaken for a dead plant. During establishment, check root-ball moisture separately from the surrounding bed and water when it is drying, not on an automatic calendar.
- Photograph the same viewpoint at the end of the first growing season and mark any overhang. Leave gaps while the plants establish. Add nothing until you have seen the grass and aster at their late-season size.
Season by season
Make room for new grass growth as it resumes; retain safe hollow perennial stems rather than cutting every species to one height.
Edge once and remove only volunteers that interrupt the main groups.
Leave seedheads and grass stems standing for birds and winter structure.
If the planting does not behave as expected
Grass falls across the path
Check excess shade, rich soil and irrigation before tying it upright. If the site's growth exceeds its reserved envelope, move it to a larger bed; repeated clipping is not a substitute for a size match.
Aster consumes the center gap
Remove outward spread at the boundary and reassess its footprint. Keep one mound rather than dividing it into several new plants within the same 32 square feet.
Little spring color
This palette prioritizes summer flowers and fall structure. Do not promise continuous bloom; use a separate spring planting rather than crowding this footprint.
Before purchasing
Open each plant field card, verify regional range, and ask for straight species or locally appropriate cultivars. Availability and local native status vary. If your site differs substantially, use the plant finder to rebuild the list around the actual conditions.
Read the related site-preparation guide before buying, or compare the other Garden Plans.
Sources and design decisions
The sources below support plant size and culture, not an endorsement or trial of this layout. Coordinates, quantities and access allowances are our editorial design decisions. Consult local guidance for your property.